Got Ghee?
cooking time: 20 minutes
Here is my quick and easy way to get some ghee goodness at home, at just a fraction of the cost of the store-bought kind. All you need is a slab of butter, a few minutes and the willingness to stir, stir, stir.
The timing for this recipe varies based on the freshness of the butter and the type of saucepan used. Meanwhile, success is contingent on constant stirring. Stirring is the one thing between yielding clarified butter and a pot of burnt butter.
Ingredients:
1 pound (454 grams) unsalted butter
1 whole green cardamom pod
Utensils:
20-ounce (600-millilitre) wide-mouthed, glass jar with tight lid
stainless steel teaspoon
fine metal sieve
1-litre or 2-litre heavy-bottomed saucepan
Method:
Ensure your wide-mouthed jar is completely dry. Stand an ordinary teaspoon in the jar and rest a fine sieve over its mouth. Keep this set-up near the stove for later. Remember the “no moisture” rule for ghee: water will cause the ghee to spoil; so ensure your jar, spoon, sieve and saucepan are all 100% dry.
Place the butter in a heavy-bottomed saucepan on HIGH heat. Add the cardamom. Insert a spoon perpendicularly into the centre of the slab of butter. Gently and constantly turn the butter around the pan. As the butter melts, it will be opaque and a white, milky residue will form on the surface. Stir until the butter has completely melted (about 4-5 minutes).
Over the next 1-2 minutes, the melted butter will come to a boil and the white residue will disappear. Notice the unmistakable and strong aroma of cooked butter. Reduce the heat to MEDIUM-LOW. As the butter boils vigourously, do not stop stirring. Constant stirring keeps the butter from boiling over and burning.
As the colour lightens to resemble lemon juice, and lots of clear bubbles form on the surface, quickly check the clarity of the butter by raising a spoonful from the pot. The melted butter will be cloudy at this point, a sign that the ghee is not ready. Continue to stir.
While you stir, take a couple of seconds every minute to inspect the butter. You want your spoonful of butter to be clear with only a few particles visible in the liquid. Also, if you are able to see through the bubbling, an off-white residue of milk solids should be present at the bottom of the pan. It takes about 6-8 minutes of boiling and constant stirring to reach this stage. Note: if you notice the surface of the boiling butter transform from clear bubbles back to a thick foam, remove the pan from the heat immediately, as heavy foam in this late stage is another sign the ghee is starting to overcook.
When the liquid is clear, remove the saucepan from the heat but continue to stir for another 2-3 minutes until the milk solids at the bottom turn caramel brown. Be careful and do not let the residue become dark brown or black. Black residue is a sign that the ghee is burnt and needs to be discarded.
Strain the ghee through the sieve into the jar. The spoon will help keep the jar from cracking under the heat of the ghee.
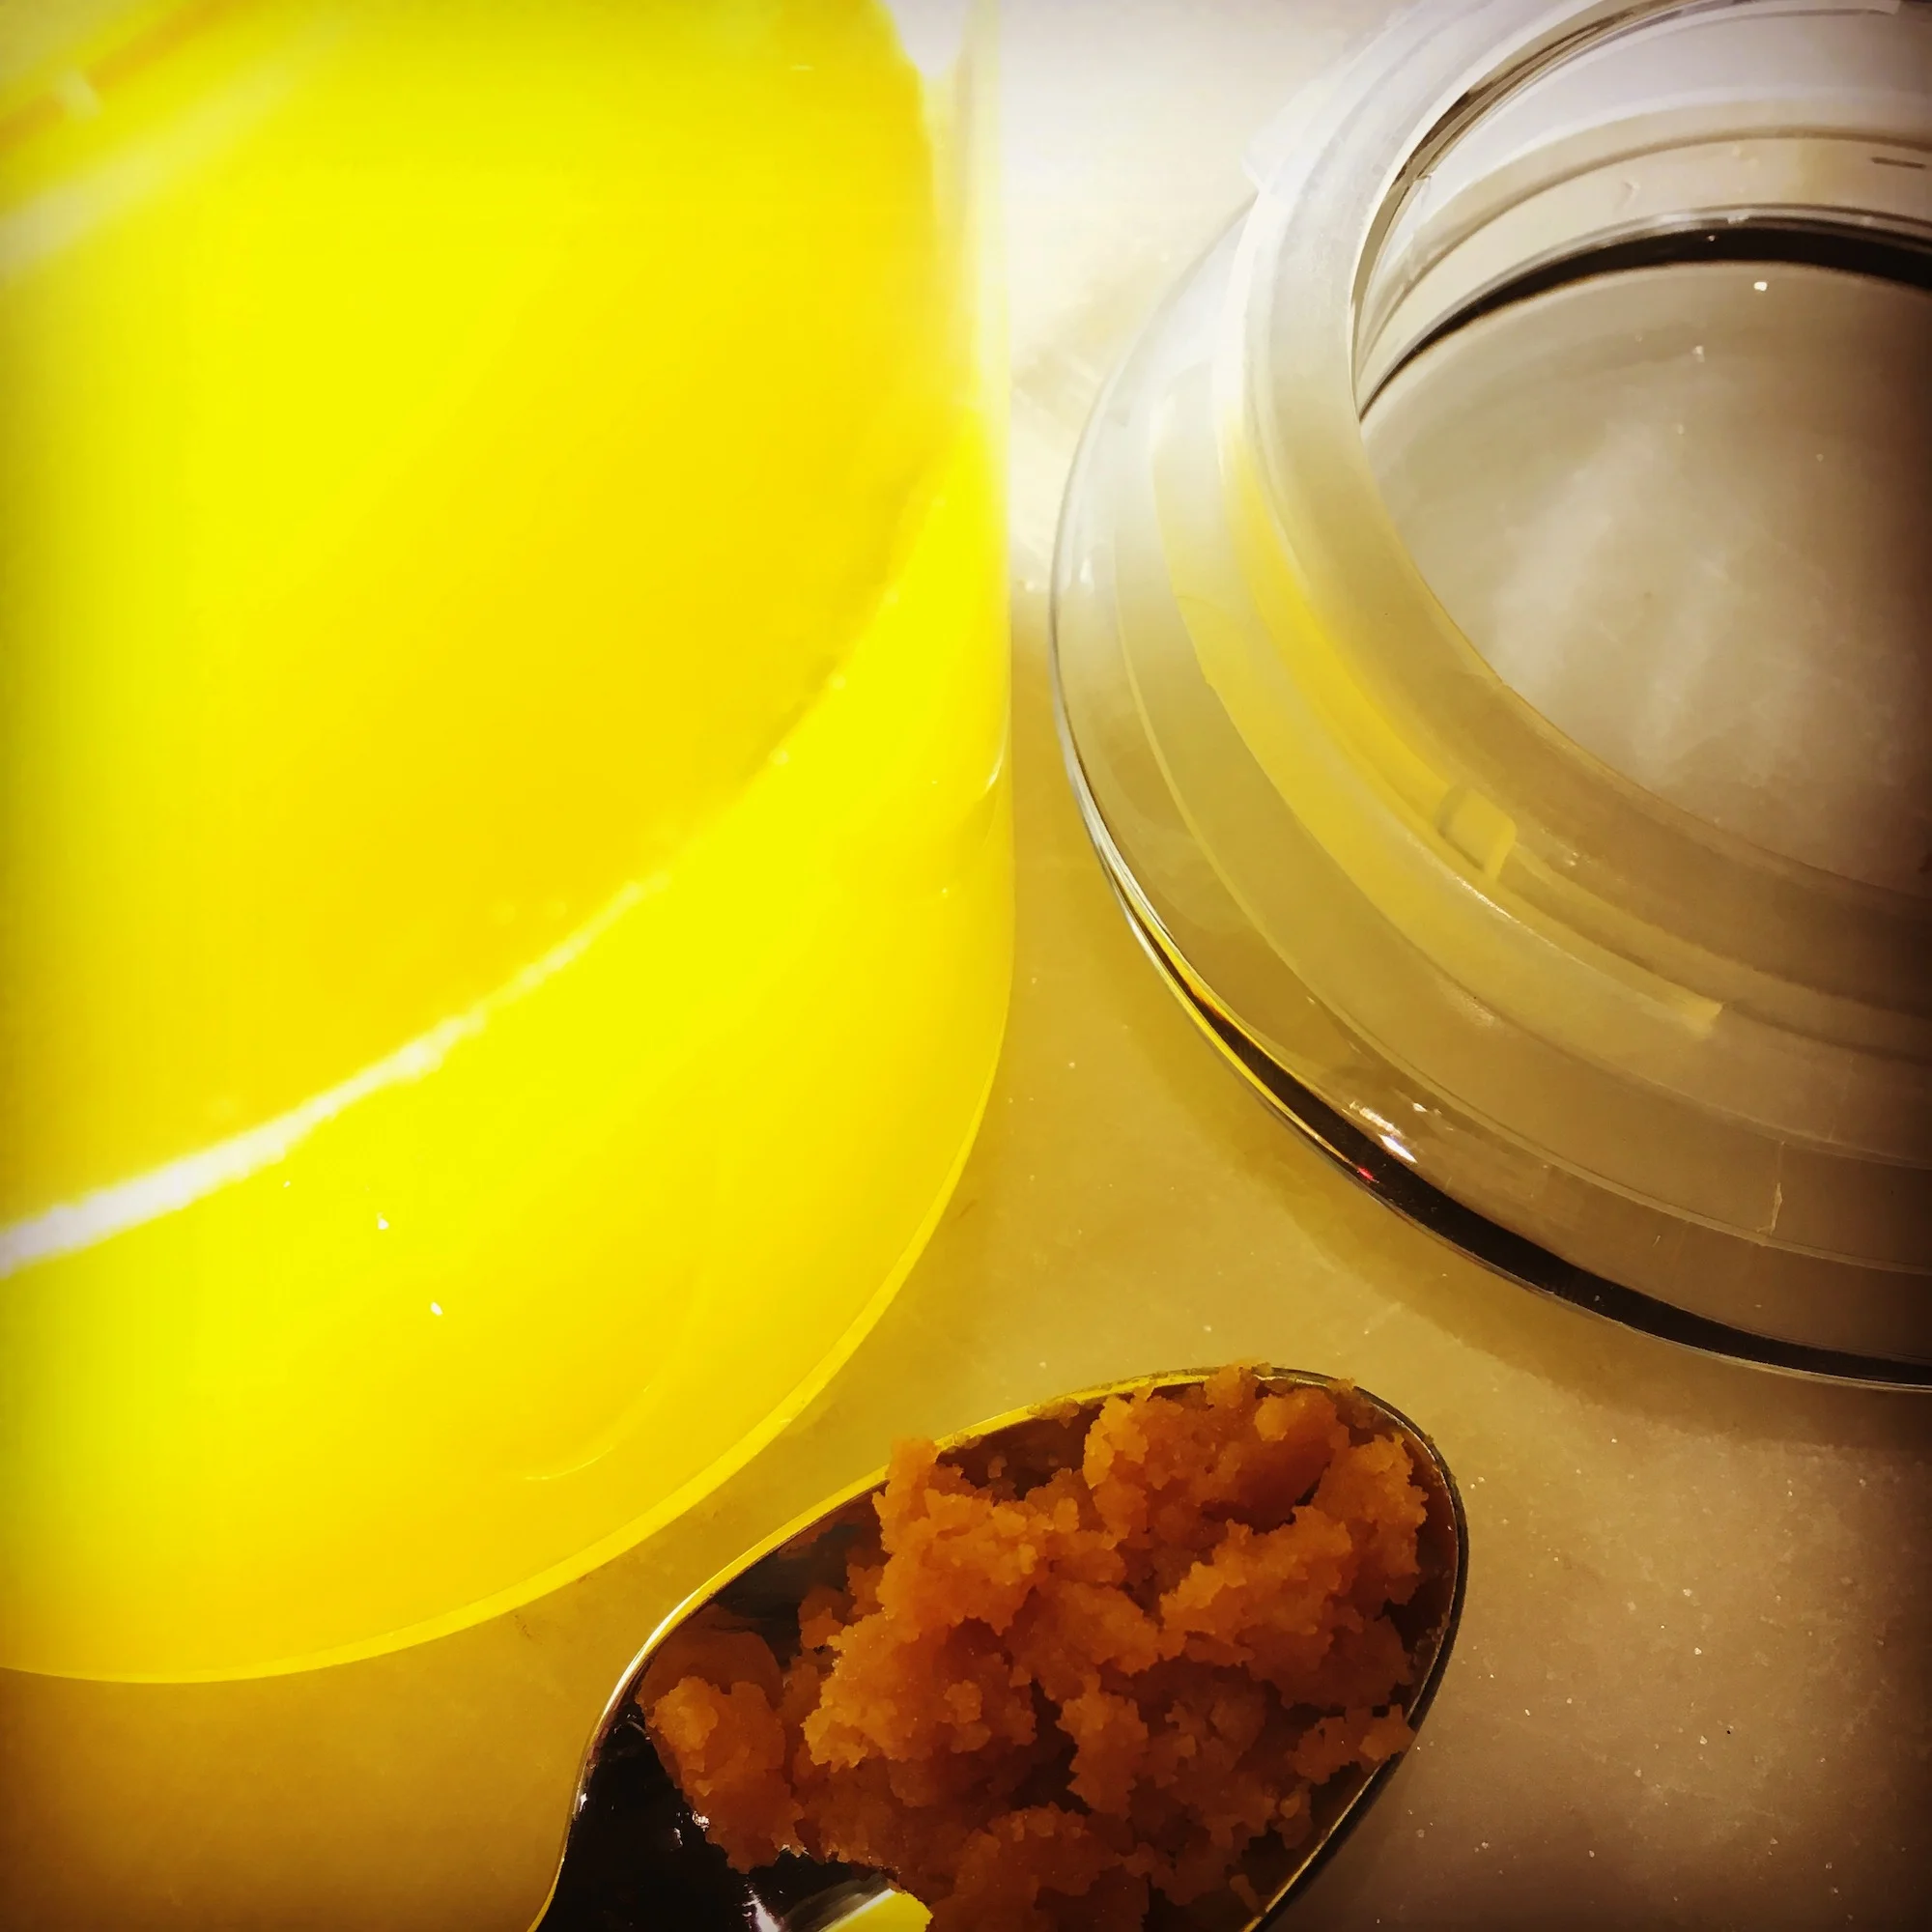
Remove the sieve and discard the residue of milk solids and the cardamom pod. Keep the jar of clear, golden ghee open on the countertop to set at room temperature. Once set, the ghee will turn opaque yellow and have a semi-solid consistency with very fine granules. Seal the jar and refrigerate. While it is true that refrigeration is not necessary, as you can store ghee at room temperature for months without it going bad, refrigeration is the best way to guarantee you can use your ghee three and four months down the road with no worries. Also, remember to never dip a wet spoon into your jar of ghee: water will promote bacterial growth, which will cause your ghee to spoil.

Tip: If the ghee is splattering or the steam too intense at any point, adjust the heat lower. The goal is to stay in control: keep the butter boiling as you stir without burning the butter, or yourself.